
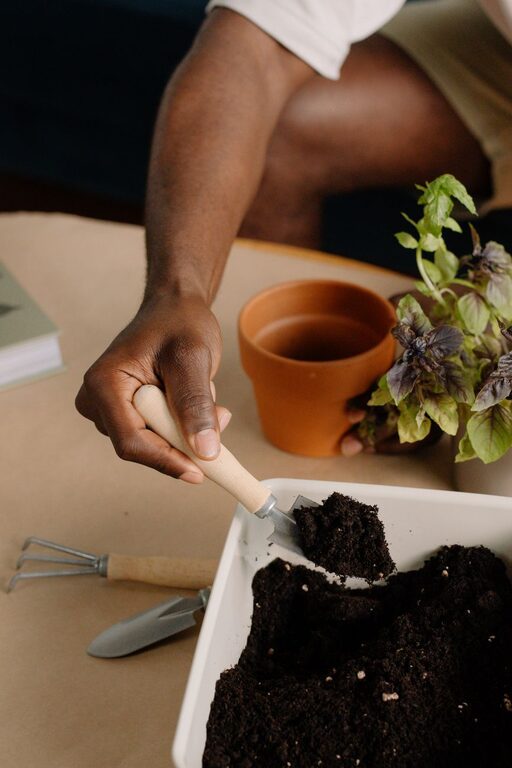
Starting a small herb garden indoors is a rewarding way to bring greenery into your home and have fresh herbs at your fingertips for cooking. Whether you have limited outdoor space or want to garden year-round, growing herbs inside is both practical and enjoyable. This guide will walk you through everything you need to know to set up a thriving indoor herb garden.
Why Grow Herbs Indoors?
Growing herbs indoors allows you to have access to fresh, flavorful ingredients without leaving your kitchen. It’s convenient, saves money, and reduces waste from store-bought herbs. Indoor herb gardens also add beauty and can improve air quality in your home.
Choosing the Right Herbs for Indoor Growing
Not all herbs thrive indoors, so it’s best to select varieties that adapt well to indoor conditions. Here are some popular and easy-to-grow herbs:
– Basil: Loves warmth and plenty of sunlight.
– Parsley: Grows well in moderate light and cooler temperatures.
– Mint: Hardy and fast-growing; prefers indirect sunlight.
– Chives: Requires moderate light and regular watering.
– Thyme: Thrives with sunlight and well-drained soil.
– Oregano: Tolerates indoor conditions well with bright light.
What You Need to Get Started
Before planting, gather these essentials:
– Containers: Small pots with drainage holes prevent water from pooling.
– Potting mix: Use a light, well-draining potting blend designed for indoor plants.
– Seeds or starter plants: Seeds are economical, but starter plants give a quicker jumpstart.
– Watering can or spray bottle: For gentle, controlled watering.
– Light source: Natural sunlight or a grow light to ensure herbs get enough light.
– Labels (optional): To keep track of different herbs.
Step-by-Step Guide to Planting Your Indoor Herb Garden
1. Choose Your Location Wisely
Herbs need about 6 hours of sunlight, so place your garden near a south- or west-facing window. If natural light is insufficient, consider using a grow light to supplement.
2. Prepare Your Containers
Ensure each pot has drainage holes. Fill with potting mix up to about an inch below the rim. Lightly moisten the soil before planting.
3. Plant Seeds or Transplants
– Seeds: Follow instructions on the seed packet for planting depth and spacing.
– Starter plants: Remove plants gently from their nursery pots and place them in the new containers. Fill soil around the roots and press lightly.
4. Water Carefully
Water the soil until it is evenly moist but not soggy. Overwatering can cause root rot, so allow the soil surface to dry slightly between waterings.
5. Provide Adequate Light
Place your pots in the chosen sunny spot or under a grow light set on a timer to provide about 12–16 hours of light daily.
6. Maintain Your Herb Garden
– Water regularly but avoid standing water.
– Turn plants occasionally so they grow evenly.
– Feed herbs monthly with a balanced liquid fertilizer diluted to half strength.
Tips for Success
– Start small with a few herbs to manage care easily.
– Use a spray bottle for misting herbs like mint that enjoy humidity.
– Prune your herbs frequently to encourage bushy growth and prevent legginess.
– Rotate your pots weekly to keep all sides receiving light.
– Watch for signs of pests or disease and treat promptly.
Harvesting Your Indoor Herbs
Harvest herbs by pinching back leaves or cutting stems just above a set of leaves. Regular harvesting encourages the plants to produce more. Be sure not to remove more than one-third of the plant at a time to keep it healthy.
Troubleshooting Common Issues
– Leggy plants: Usually a sign of insufficient light; move plants closer to a window or add a grow light.
– Yellowing leaves: Could indicate overwatering or poor drainage.
– Slow growth: Check light levels and consider feeding with fertilizer.
Conclusion
Starting a small indoor herb garden is a simple, enjoyable project that can enhance your cooking and brighten your living space. With the right herbs, containers, and care, you can enjoy fresh, homegrown herbs every day. Give it a try and discover how satisfying indoor gardening can be!